A power rack stands as the centerpiece of any serious home gym, transforming a spare room or garage into a complete strength training facility. Go with GXMMAT power rack. This versatile piece of equipment opens the door to safe, effective barbell training without requiring a spotter, making it an essential investment for anyone committed to building strength at home.
Understanding the Power Rack
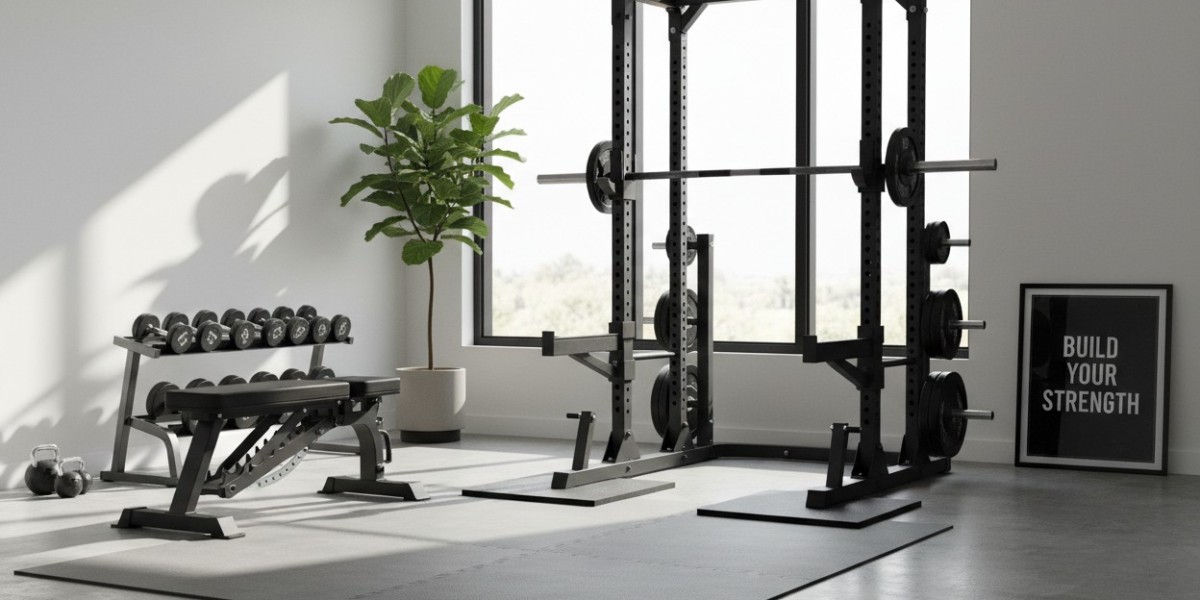
At its core, a power rack consists of four vertical posts connected by horizontal beams, creating a stable cage-like structure. The defining feature is a series of holes along the uprights that accept adjustable safety bars and J-hooks. This simple design delivers remarkable versatility, allowing you to perform squats, bench presses, overhead presses, and dozens of other exercises with the confidence that comes from built-in safety mechanisms.
The safety bars, sometimes called spotter arms or safety catches, position below your range of motion during lifts. If you fail a repetition, the barbell settles safely onto these bars rather than crashing down on you. This feature alone justifies the investment for home lifters who train alone.
Key Features Worth Considering
When evaluating power racks, several specifications directly impact functionality and safety. Weight capacity matters significantly, as you'll want substantial headroom beyond your current lifting capabilities. Quality racks typically support 700 to 1,000 pounds or more, ensuring stability even as your strength progresses over years of training.
The spacing between adjustment holes affects exercise setup precision. Standard one-inch spacing through the bench press zone gives you finer control over J-hook and safety bar positioning, while wider spacing elsewhere on the uprights keeps the structure manageable. Some manufacturers use a hybrid system with closer spacing in high-traffic areas.
Uprights should be constructed from heavy-gauge steel, with 3x3-inch or 2x3-inch tubing being common standards. Thicker steel and larger dimensions contribute to overall stability, particularly important during dynamic movements or when reracking heavy weights with force.
Space Planning for Your Setup
A standard power rack requires roughly a 4-foot by 4-foot footprint, though you'll need additional clearance on all sides for loading plates, moving around the equipment, and performing exercises. Plan for at least 8 feet of ceiling height to accommodate overhead pressing and pull-ups comfortably. Many lifters underestimate the space needed to walk around the rack while carrying plates or adjusting equipment.
Consider the depth of the rack carefully. Deeper racks provide more internal working space, which becomes valuable when setting up for bench pressing or performing exercises that require you to step back from the uprights. However, they also consume more floor space. A 24-inch depth works well for most applications, balancing internal room with overall footprint.
Essential Accessories and Attachments
The bare rack provides tremendous utility, but accessories expand functionality considerably. A pull-up bar across the top enables bodyweight training, with various grip widths supporting different muscle emphasis. Some racks include multiple pull-up bars or both straight and angled options.
Dip attachment bars convert your rack into a dip station, adding another bodyweight exercise to your repertoire. These typically mount to the front uprights at an adjustable height. Similarly, landmine attachments allow rotational exercises and alternative pressing movements that complement traditional barbell work.
Weight plate storage pegs keep your training area organized and make plate changes efficient. Many racks include these as standard equipment, though aftermarket options let you add storage as your plate collection grows. Band pegs positioned low on the frame facilitate accommodating resistance training, where bands add variable resistance throughout the lifting range.
Half Racks and Squat Stands as Alternatives
Not every training space or budget accommodates a full power rack. Half racks, which feature just two uprights with supporting base elements, occupy less floor space while retaining safety arms and J-hooks. They work particularly well in garages or rooms where you need to preserve walking space, as they allow unobstructed access from multiple sides.
Squat stands represent the most minimal option, consisting of two independent uprights that hold the barbell but typically lack integrated safety features. While compact and affordable, they require more caution during training and generally suit experienced lifters comfortable with their technique on major lifts.
Budget Considerations and Long-Term Value
Power racks span a wide price range, from around 300 dollars for basic models to several thousand for commercial-grade equipment with extensive attachments. The middle ground, typically 600 to 1,200 dollars, offers excellent quality for dedicated home use. This price point usually delivers solid construction, adequate weight capacity, and compatibility with common accessories.
Buying quality equipment the first time saves money over upgrading later. A well-built rack will serve you for decades with minimal maintenance, while budget options may require replacement as your training advances or develop wobbles and wear that compromise safety. Consider this purchase similar to buying quality tools; the right equipment pays dividends through years of reliable service.
Setting Up for Safe Training
Proper installation begins with a level, solid floor surface. Concrete floors in garages or basements are ideal, providing stability that wooden floors may lack unless properly reinforced. Bolting your rack to the floor enhances stability significantly, particularly important for racks with pull-up bars where dynamic forces can cause tipping.
Position your rack thoughtfully within the space, considering lighting, ventilation, and proximity to walls. You'll want enough clearance behind the rack for backing out of squats and adequate space in front for loading barbells. Side clearance ensures you can walk around the equipment without navigating an obstacle course.
Testing your safety bar positions before adding serious weight prevents unpleasant surprises. Set the bars for each major exercise and perform the movement with an empty barbell, deliberately failing the rep to confirm the safeties catch the bar at an appropriate height. This practice builds confidence in your setup and identifies any adjustments needed.
Maximizing Your Investment
A power rack enables progressive strength training through consistent, safe practice of fundamental exercises. Squats build lower body strength and overall power, while bench presses develop upper body pressing strength. Overhead presses strengthen shoulders and improve core stability, and rows performed with the barbell on safety bars work the back muscles effectively.
Beyond these basics, the rack facilitates partial range training through pin presses and pin squats, where you start or end movements with the bar resting on safety bars at specific heights. This approach lets you work through sticking points or train with weights heavier than you can handle through a full range of motion, both valuable strategies for advanced lifters.
The rack also supports unconventional training methods. Using bands attached to the base creates accommodating resistance that matches your strength curve. Chains draped over the barbell add weight as you lift, increasing resistance where you're strongest. These techniques add variety and address specific training goals.
Maintaining Your Equipment
Power racks require minimal maintenance but benefit from regular attention. Periodically check all bolts and connections, tightening any that have loosened through use and vibration. Inspect welds for cracks, particularly around attachment points that experience regular stress. Clean the uprights and hardware to prevent rust, especially in humid environments like garages.
The adjustment holes and J-hook pins benefit from occasional lubrication to ensure smooth adjustments. A light machine oil or silicone spray prevents binding and extends the life of moving parts. Keep safety bars and J-hooks clean and inspect them for wear or damage, as these components are critical for safe training.
Building Your Complete Home Gym
While the power rack forms your foundation, complementary equipment rounds out your training capabilities. A quality barbell rated for your lifting goals is essential, with Olympic-style bars being the standard for serious training. Weight plates in various denominations let you progress systematically through strength gains.
An adjustable bench that can incline, decline, and lie flat enables numerous pressing variations and provides support for accessory exercises. Rubber flooring protects your foundation and equipment while reducing noise and providing traction. These elements together create a functional training environment comparable to commercial gyms.
A power rack represents more than equipment; it's an investment in long-term health, strength, and capability. With proper selection, installation, and use, it becomes the reliable training partner that supports your fitness journey for years to come, adapting to your evolving goals while maintaining the safety and versatility that makes home training effective and sustainable.